
Salmon
How to Cure Frozen Eggs

By: Troy Whitaker
I want to be clear about something before we dive into this blog. Personally, I don’t freeze my skeins until after I cure them. However, we’ve been getting so many questions from anglers asking what the best method is to cure frozen skein that I’m going to do my best to provide tips and tactics on a method that will allow you to cure and fish frozen skein.
A little background first as to why I prefer not to cure frozen skein. When you freeze a skein the water inside the egg will pierce through the egg like a little knife and compromises the egg. To simplify, freezing skein makes it so the skin of the egg has holes in it. Therefore, it will milk out quicker than a piece fresh roe that wasn’t frozen.
On the other hand, many anglers do buy roe from tackle shops, online and most of that is frozen prior, but they dry it out more, which reduces the size of the egg allowing it to fish better. These are outfits that have it dialed in with mass production. For the purpose of this blog we are going to dive in on how to cure pre-frozen skein – the best way we can.
Contents:
Red Fire Brine
Fire Power
Red Fire Cure
Large Container
Frozen Skein
Step One: Get Your Frozen Eggs
Gather frozen eggs. This process will work with salmon and steelhead eggs. Keep in mind, with frozen skein that is uncured the eggs will not be as good as fresh eggs, but the process is suitable for anglers that only have access to frozen eggs. Now it’s important to make sure you find a container large enough to place the entire frozen block of eggs in.
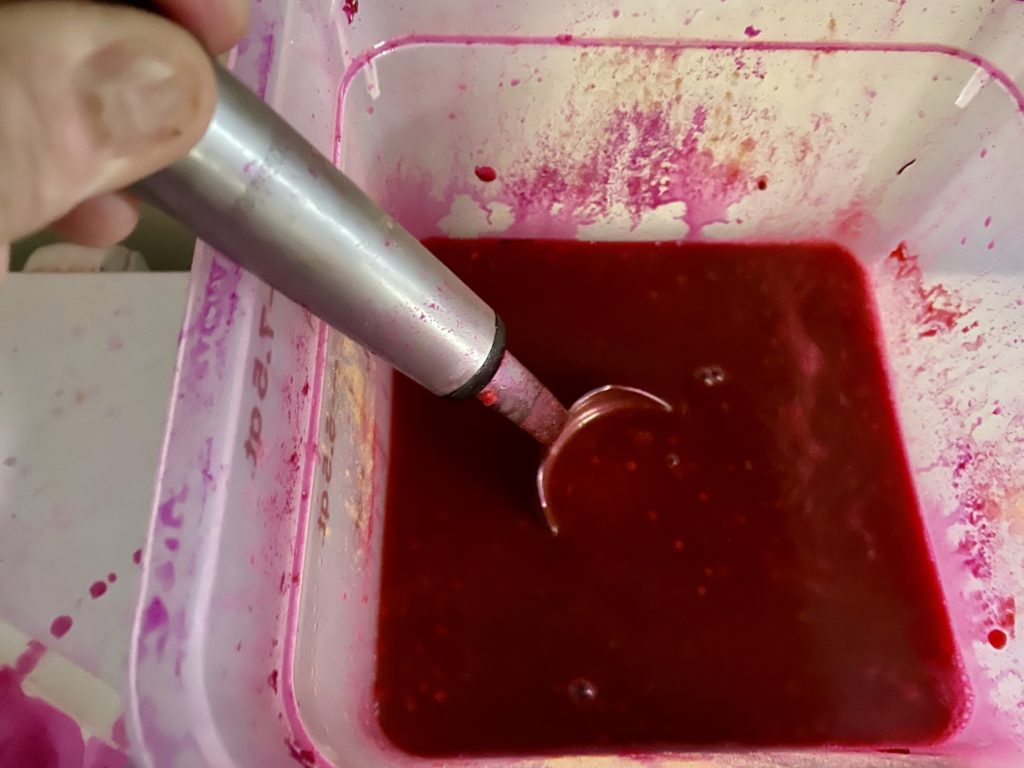
Step Two: The Mix
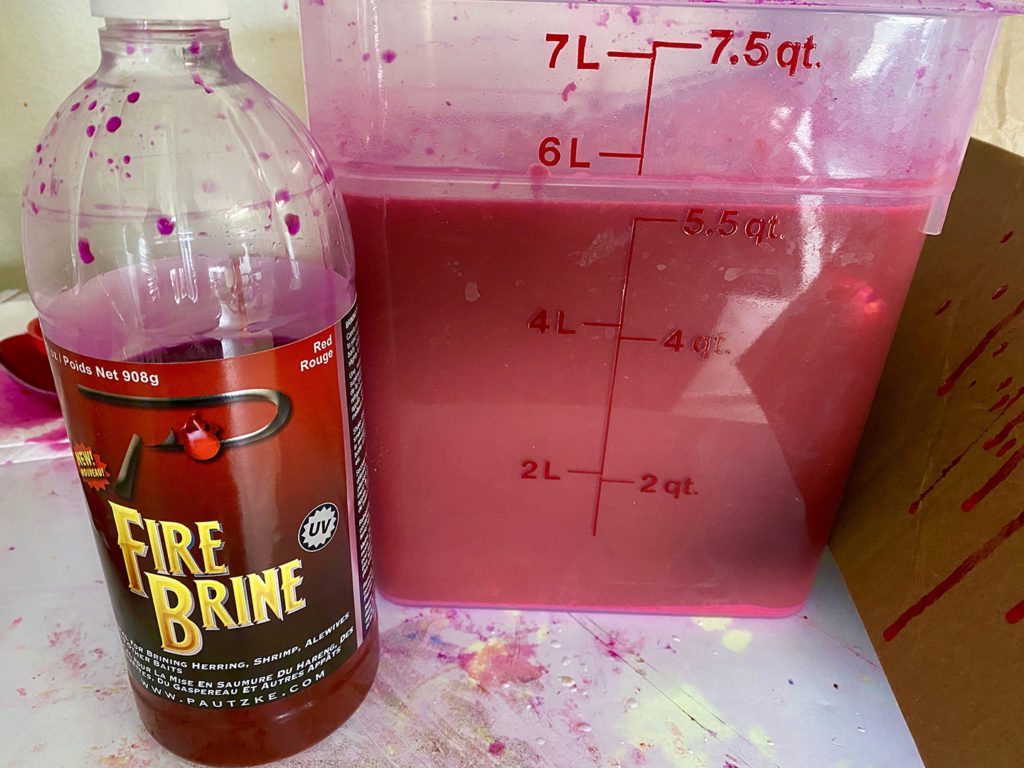
Pour an entire bottle of Red Fire Brine in the container. The frozen eggs need to be submerged in the brine, while thawing. The brine is going to seep into the skein and eggs and is going make your eggs expand slightly, while also making the egg tougher. At this point add Red Fire Cure. The Fire Cure has sulfites in it and serves as a preserver. It will cure the eggs in the skein while also preserving the egg. It depends on how many eggs you are doing, but for a frozen block the size in the photo a half a cup of Fire Cure should be sufficient. Then I’m going to shake two teaspoons of Fire Power to add that krill scent it. At this point it’s important to stir the mix thoroughly before adding the eggs. You want to guarantee the Fire Power and Fire Cure is dissolved in the brine. If it isn’t – keep stirring.
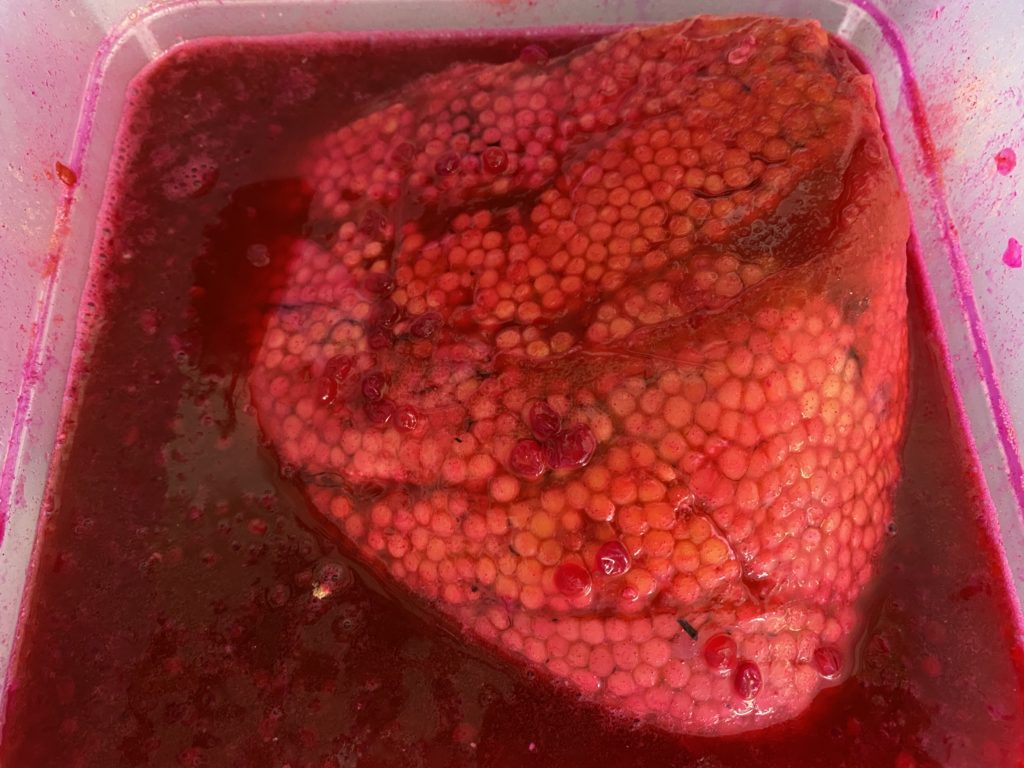
Step Three: Add the Frozen Block
It’s time to add the frozen eggs into the mixture. The eggs over time will thaw out in the solution and separate from the block. You’ll have skeins rest in the brine and will start to cure as soon as they thaw. I recommend leaving the skeins in the container for at least 24 hours. Leaving them in here longer won’t hurt the eggs. Keep the eggs at room temperature or in the fridge.
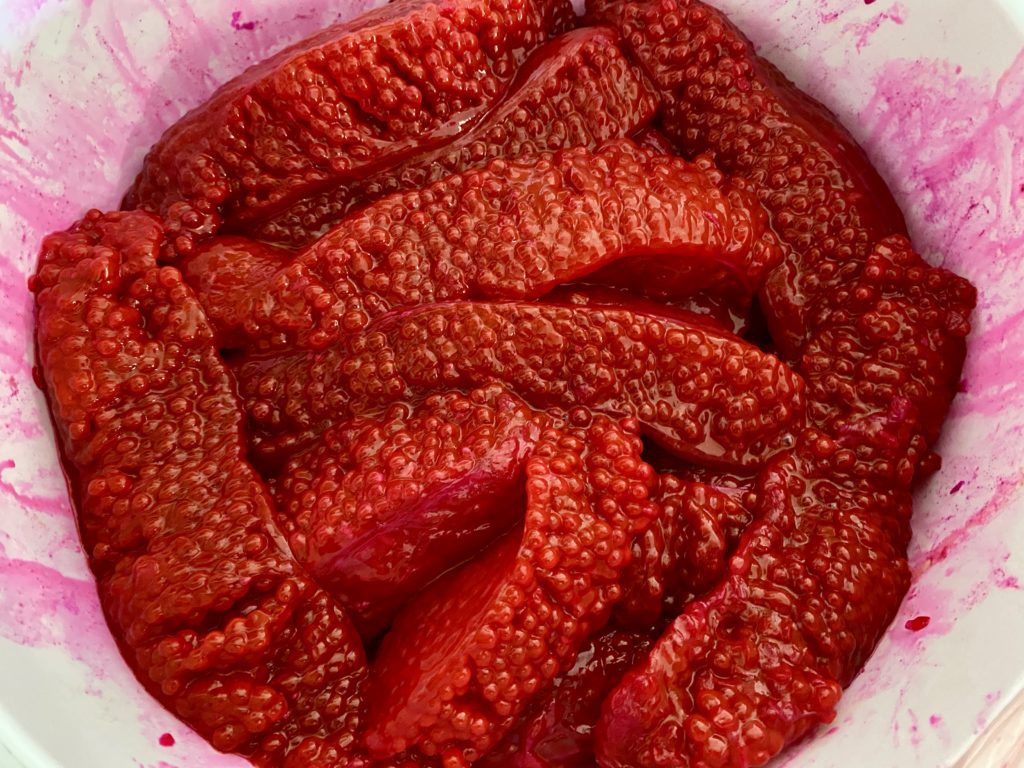
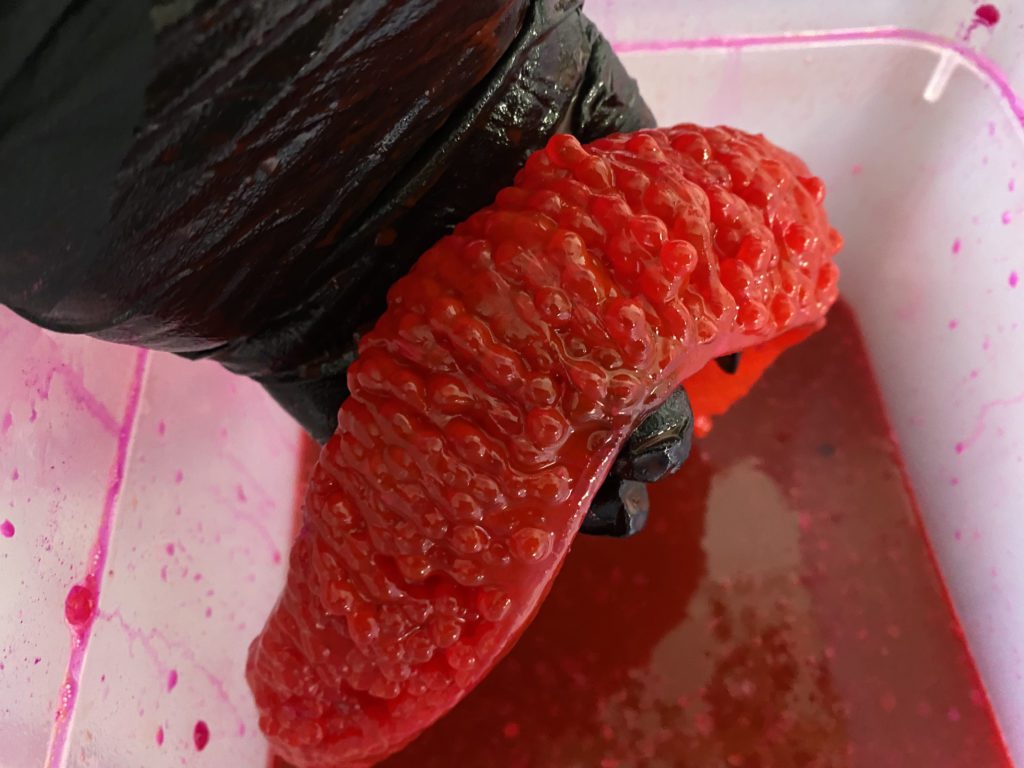
At the end of the process you’ll find skeins that are stop sign red, plump eggs and will now juice out. If you want the eggs to be firmer I suggest laying them out on paper towels with wax paper underneath. The wax paper keeps the cured skein from staining your countertop. I would leave them out 4-6 hours with a fan blowing them. If you don’t have a fan leave them out for eight hours. Drying these eggs after letting them sit in the brine will firm them up and make them more durable. They will last longer on the hook or in your egg loop.
Colors:
We used Red Fire Brine and Red Fire Cure in these photos. If you want a pinker egg use Pink Fire Cure and Pink Fire Brine. If you are looking for an orange egg use Orange Fire Cure and Natural Fire Brine.
In closing, this process gives you the best chance at salvaging any frozen eggs you get a hold of. They won’t be perfect, as fresh skein would, but they will be fishable and you will catch fish on them if presented properly.
Editor’s Note: Troy Whitaker operates Troy’s Guide Service and specializes in salmon and steelhead.