
Spawn
The Perfect Halibut Brine
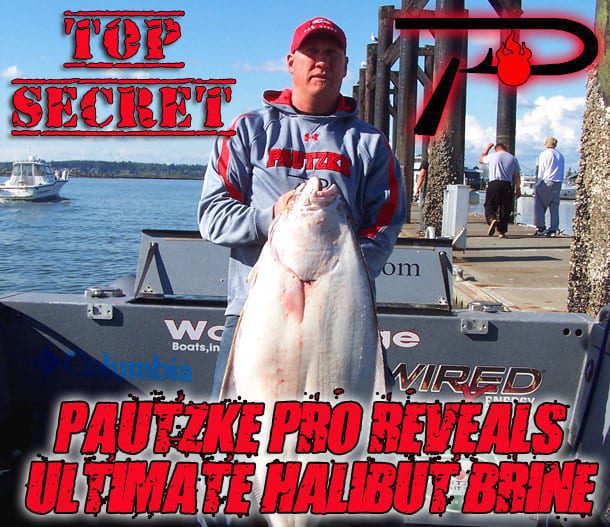
By Nick Kester | 05/12/2012
Halibut season is underway here in the Pacific Northwest and while I’ve been fishing the waters of Puget Sound for what seems like ages now I’ve found a brine that’s been working extremely well for me and wanted to share it.
While I’m using this in the Puget Sound, the brine is applicable anywhere from California to Alaska for halibut. Here I use herring for bait simply because they are the No. 1 food source, but this brine works for just about any bait used for halibut.
Good bait is vital when halibut fishing regardless of where you are fishing. I brine all my halibut bait. By brining and adding color to the bait you can determine how deep you are going to fish according to color. I’ll brine my baits blue, yellow, red and chartreuse. Sometimes I’ll even keep them natural. I like the blue when fishing deep. For example, I’ll use blue when I’m fishing 300-400 feet down. The yellows and the red I’ll use 250 feet deep and shallower.

There’s many brines out there. Meanwhile, mine consists of Pautzke’s Fire Brine, Nectar and Fire Power and I’ve been more than successful with it. I don’t have a scientific reason why it’s so effective, yet it’s my preference and works so I don’t question it.
My personal brine is easy to follow and doesn’t require much effort. I brine the herring I use for several reasons, but the single most important reason is to give them durability. The last thing I want to do is drop down 200-300 feet deep and have my bait come off.
My brines are also heavy on scent, namely krill and pure salmon egg juice. Every fish that’s entered saltwater has eaten krill at one point in time and it’s important to keep that in mind. Standard brines don’t have scent in them. I want a massive amount of scent, which is where the Nectar/Fire Power come in. The Nectar is a very powerful scent (it’s pure salmon egg juice). I’m a firm believer you can’t have too much scent. I also use the Fire Power because I’m such a believer in krill.
My brine is based around Pautzke’s Fire Brine. It’s new and the best part about it is you don’t need to add anything to it, unless you are adding scents that you like. It’s a one stop shop where all you have to do is pour the brine on your baits, let it sit and you’re done. Nevertheless, if you choose to add scent make sure you add a water based scent, not an oil based scent. Oil based scents won’t mix with the brine. Water and oil don’t mix together.
Here’s what I do to brine my baits for halibut:
Step 1:
Compile ingredients (No water necessary):
1 Bottle of Fire Brine
1 Bottle of Nectar (Yellow, Red, Purple, Blue, Orange) or Halibut & Rockfish Nectar
1 Bottle of Fire Power
1 Package of Black Label Herring
1 Container

Step 2:
Place entire package of Black Label herring in container (six in package). Then, sprinkle a generous amount of Fire Power (pure krill power) on the herring. I use a lot of the Fire Power and douse it rather than sprinkle it on. Let this sit for a minimum of 30 minutes to enable the krill to absorb into the herring.

Step 3:
Pour a full bottle of Nectar into the container. Let sit for 15 minutes to allow the Nectar to soak into the krill power. Note: The Nectar and Fire Power are your two strongest scents. You want them to penetrate the herring. In fact, when I add the Nectar I’ll use another coating of Fire Power.

Step 4:
Pour the entire bottle of Fire Brine into the container. Let it sit 12-24 hours. You don’t want the brine to be warm. Either place container in the fridge or a cool place to allow the brine to work best.

I don’t like diluting the brine so I always use the entire bottle. I like the herring submerged in the brine. Also, depending on how many bottles of brine I use I’ll usually use the equal parts of the Nectar as long as I can get close to the same color. For example, when using red Nectar I’ll use red Fire Brine. The same goes with yellow, orange, blue, etc. coinciding the Nectar and Fire Brine is important to me.
Brining Time:
After 12-24 hours the herring are ready to fish. This, however, depends on the quality of herring you start with. If you have poor or soft herring, you’ll need to brine it longer. With good herring it’ll require a shorter brine time. Keep in mind the point of this is to firm up your herring.
Storage:
I use herring so much that I cycle through them in a day, but if you want to store them simply drain the brine, place the herring in a Ziploc bag and freeze them.

Editor’s Note: Nick Kester’s brine is also applicable with salmon bellies, lingcod skin, squid, octopus and other baits. According to Kester; this brine gives them really good color and scent without hardening them up too much like some brines do. You don’t want them to be too rubbery or hard.
To learn more about Kester please visit www.allstarfishing.com