
Salmon
Expedite Your Egg Cure With a Wet Brine

By: Duane Inglin
The availability of Chinook and coho eggs can be plentiful in the fall and curing them is an easy process. Using a gallon Ziploc and BorX O Fire or Fire Cure there are numerous cures that many of us have written about for years. This is my favorite method when I’m only curing a few skeins at a time. Meanwhile, when I have lots of eggs to cure I choose to wet brine them.

By lots of eggs I’m referring to 10, 15, 20 pounds or more. With this many eggs the single Ziploc is too time consuming. Wet brines save time and still gives me a durable egg that fishes well and takes a lot of the needed hands-on work with the single bag method out of the equation.
When Chinook or coho eggs mature like they do this time of year the skin around the skein begins to break down. A cure with a little less sulfite tends to allow the eggs to toughen up a bit during the curing process. This creates more durable bait that lasts more than a couple casts. Typically for fall salmon eggs I’ll use BorX O Fire. Below I’ll cover exactly what I do.
Contents:
*1 full container of BorX O Fire (red is preferred)
*½ cup refined sugar
*1 heaping tablespoon of Fire Power
*1 tablespoon of sodium sulfite
Mix all contents in a container thoroughly. Then pour it back into the original container for storage. You’ll have a little left over, but will use it as soon as you cure some eggs.
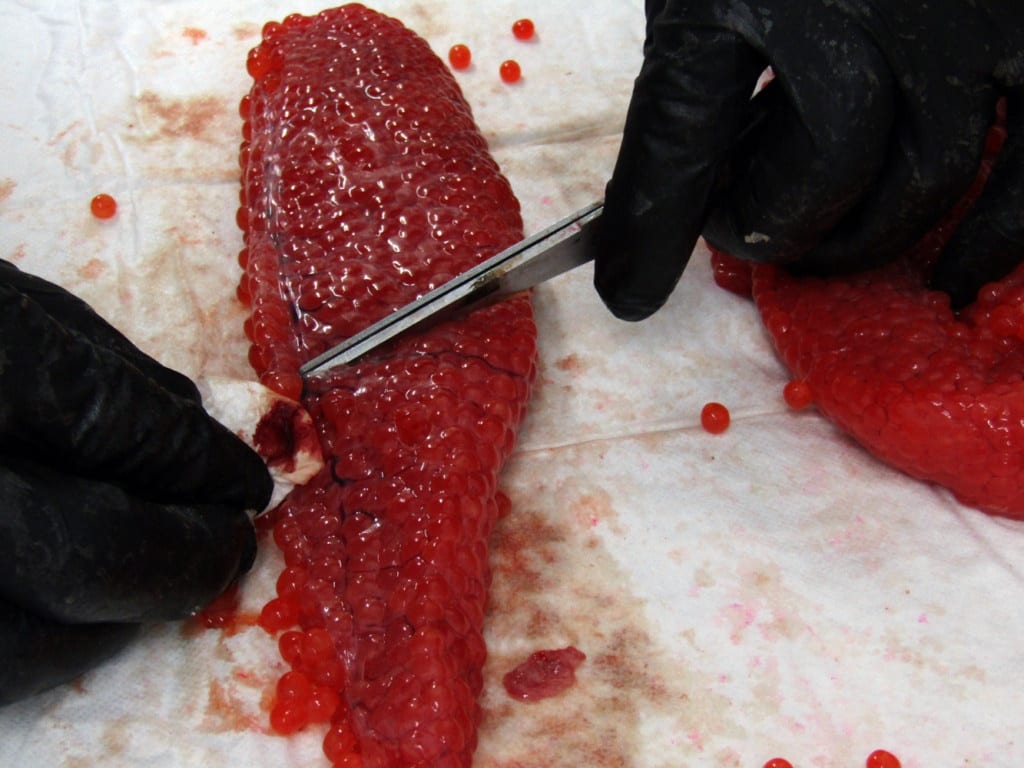
The first step (as with anytime you cure eggs) is to remove the blood from the skeins. Do this by simply placing a small cut in the main vein at one end of the skein. Use the flat edge of scissors to move the blood along the vein, pushing it out the end where it can be absorbed with a paper towel.

Next cut the length of the skein into halves or thirds. For tighter skeins I butterfly the sections to open up the skein more.
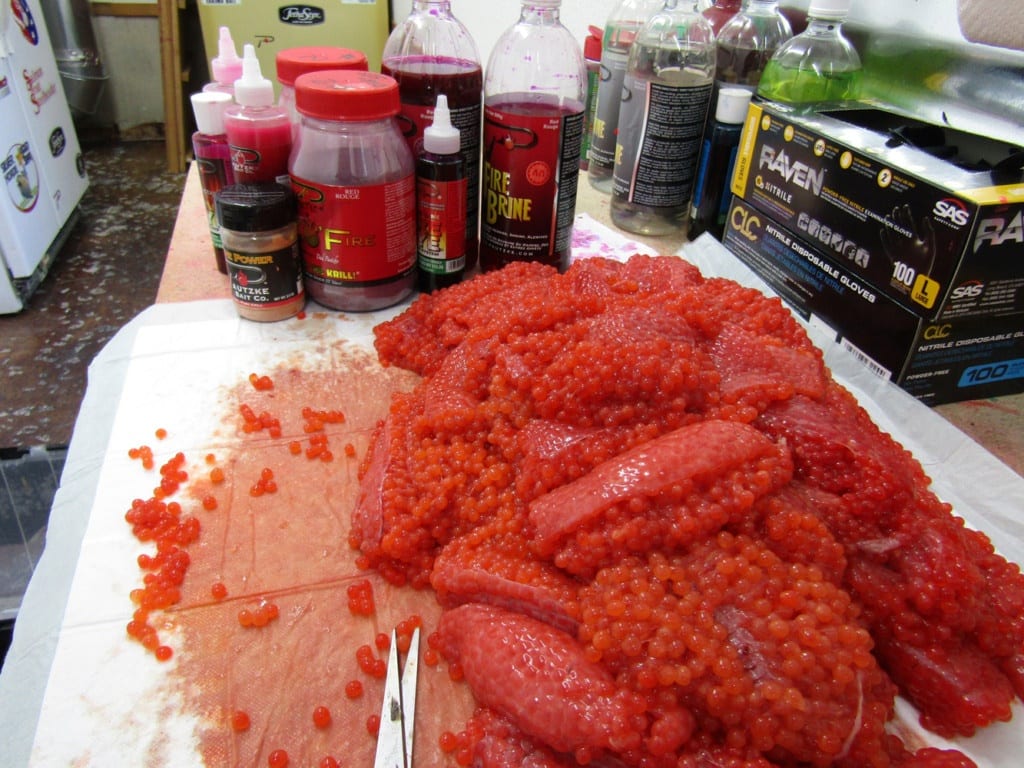
Once the skeins are blood free and cut into preferable size, you are ready to cure.

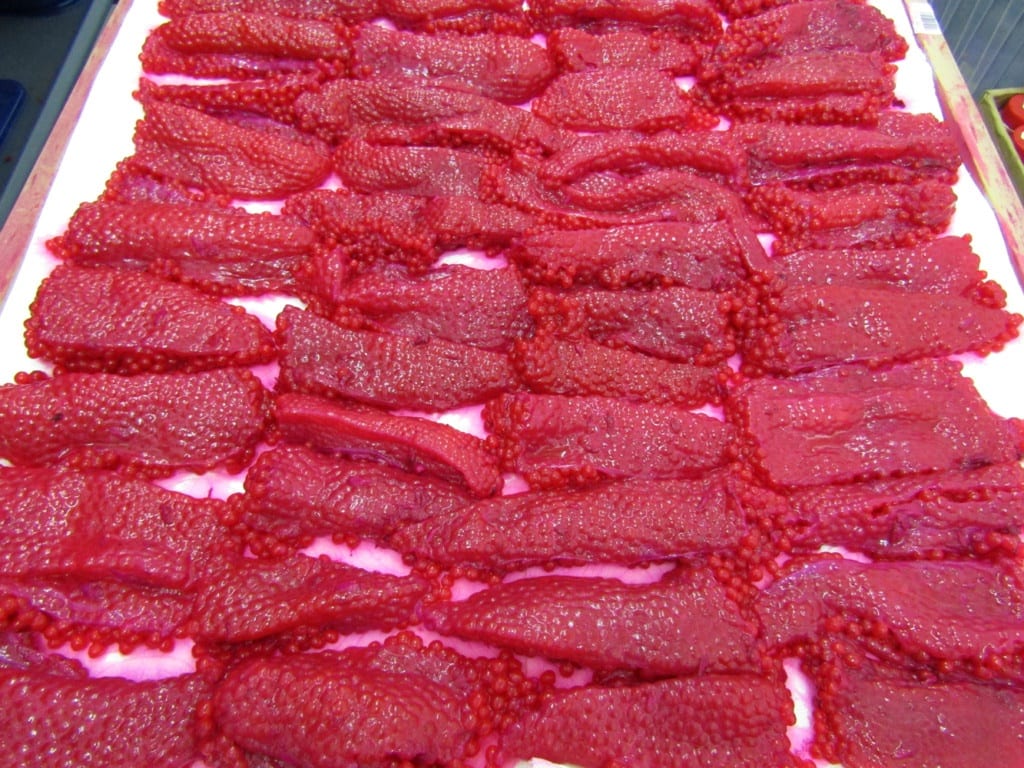
Start by sprinkling a light dusting of the pre-mixed BorX O Fire combination on the bottom of the container (or a bucket). Then place the first row of skeins in the container: skin side down and egg side up. Then sprinkle a coating of cure onto the eggs. I also sprinkle Fire Power on top of the cure. Salmon like krill, so I give them plenty.
Because I am curing eggs to use for fall and spring salmon fishing I add more to the mix. For this batch, it’s canned tuna packed in light oil. Open the can and sprinkle the oil and tuna meat on the eggs evenly. You can also substitute minced sardine, mackerel or crushed sand or ghost shrimp or nothing at all. Either way is fine depending on what you want your eggs to smell like.
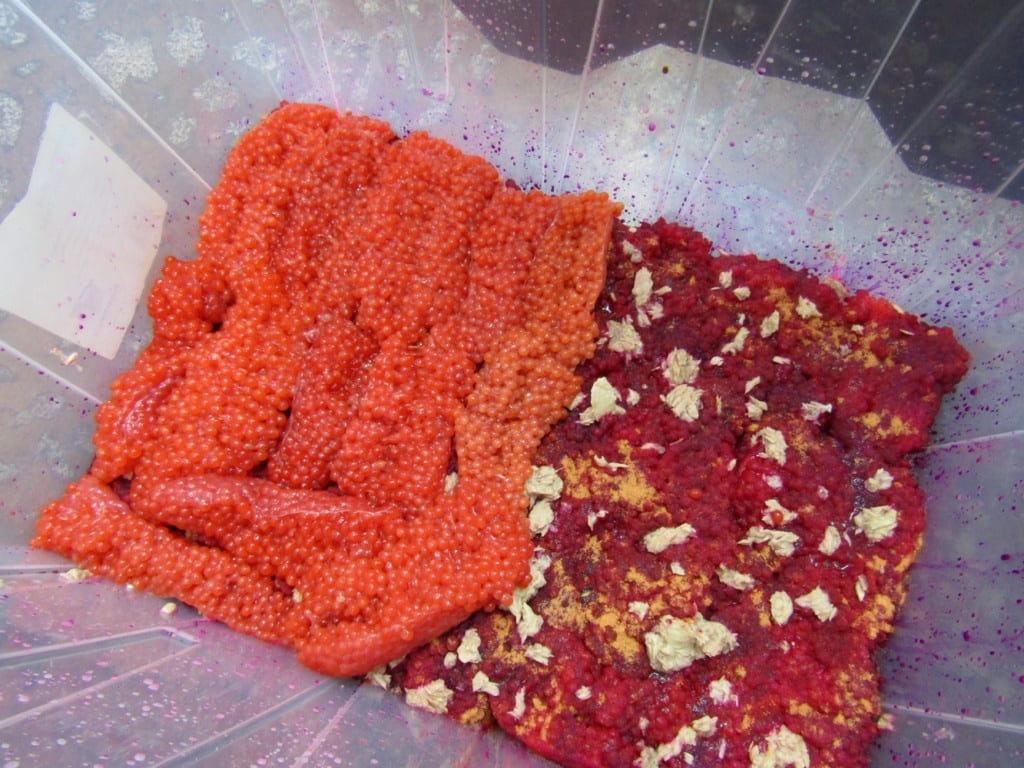
With the first row of skeins down repeat the process: the cure, Fire Power and tuna. Then let sit for at least an hour and give the powdered cure time to start curing the eggs.
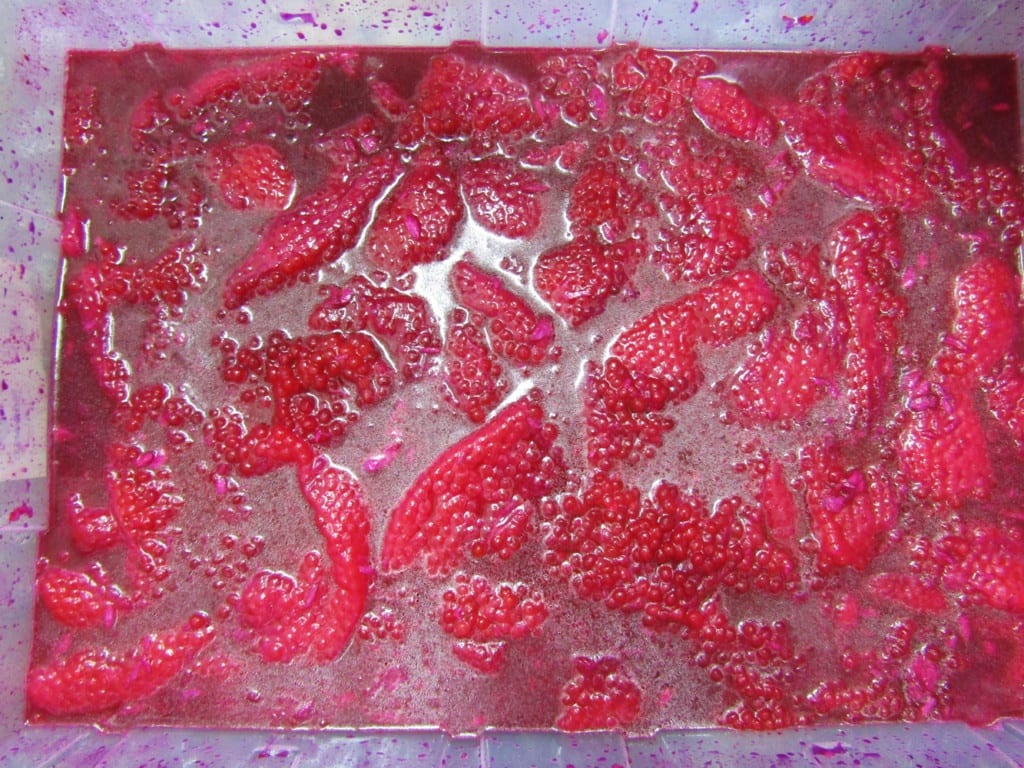
As the cure starts to work the eggs begin to produce liquid or juice. This is good.
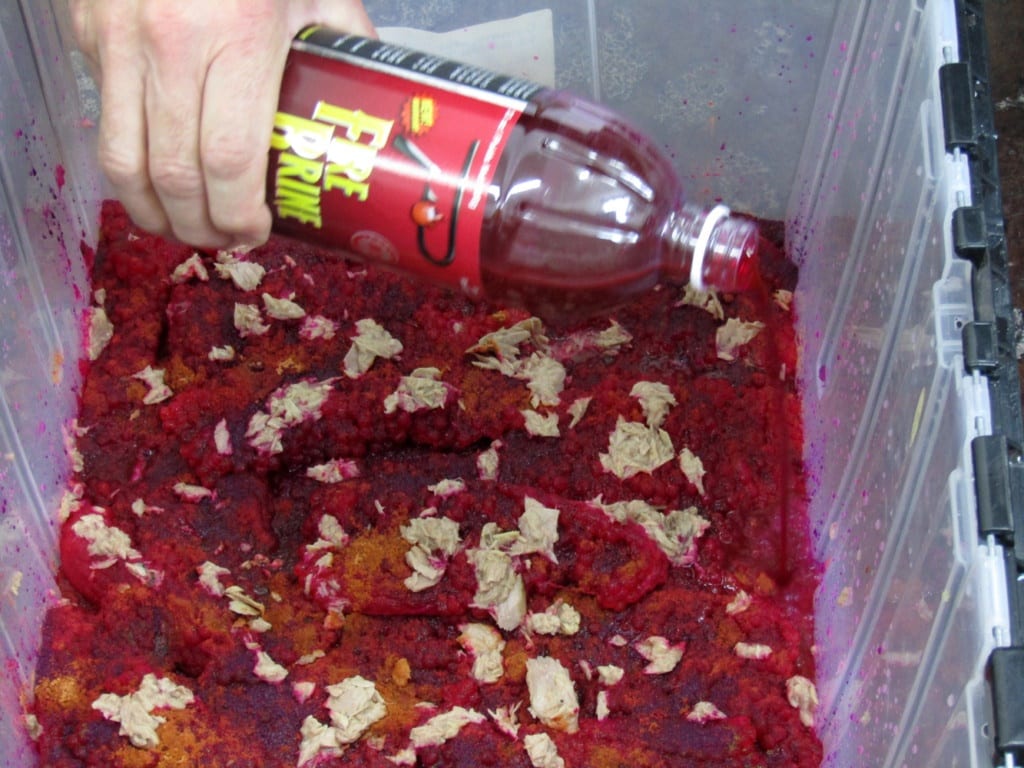
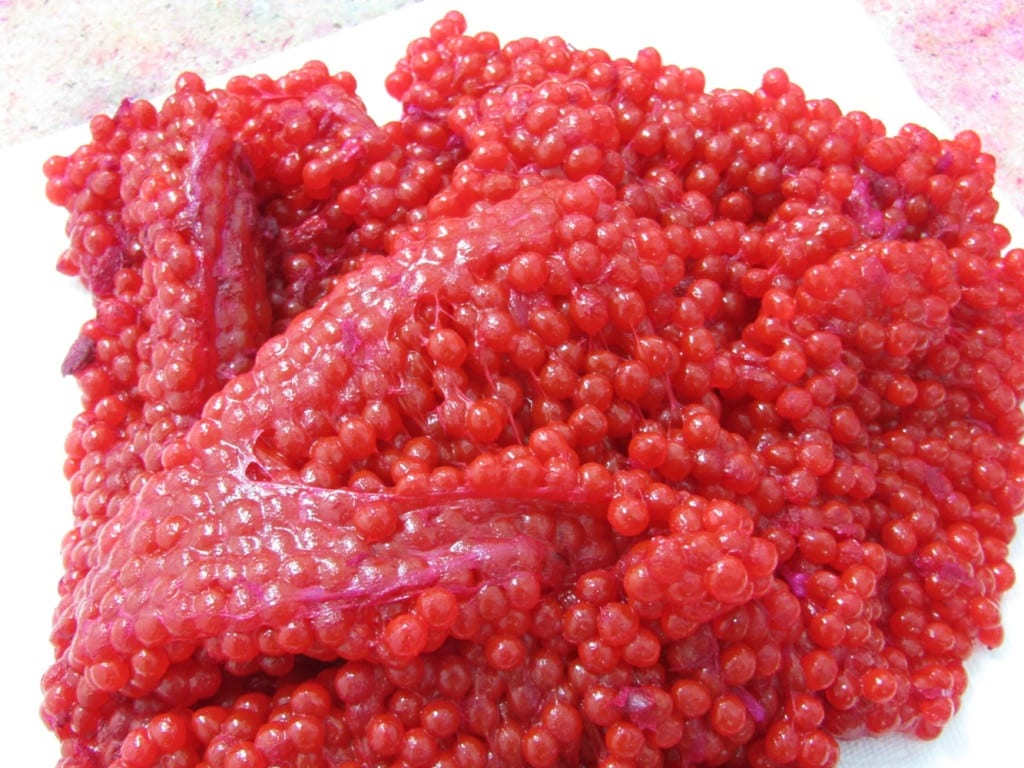
It’s time to add the liquid (Red Fire Brine). If you don’t have red you can also use Natural Fire Brine. We are also going to add Red Fire Dye. Pour in enough Fire Brine to ensure the eggs are submerged in liquid. I used one and a half bottles of Fire Brine for this batch of 12lbs.

Now add Red Fire Dye. I use four tablespoons (or about a half bottle) for the amount of eggs shown. The amount varies depending on how many pounds of eggs you are curing or how dark red you would like your eggs. Fire Dye is strong. A little goes a long way.
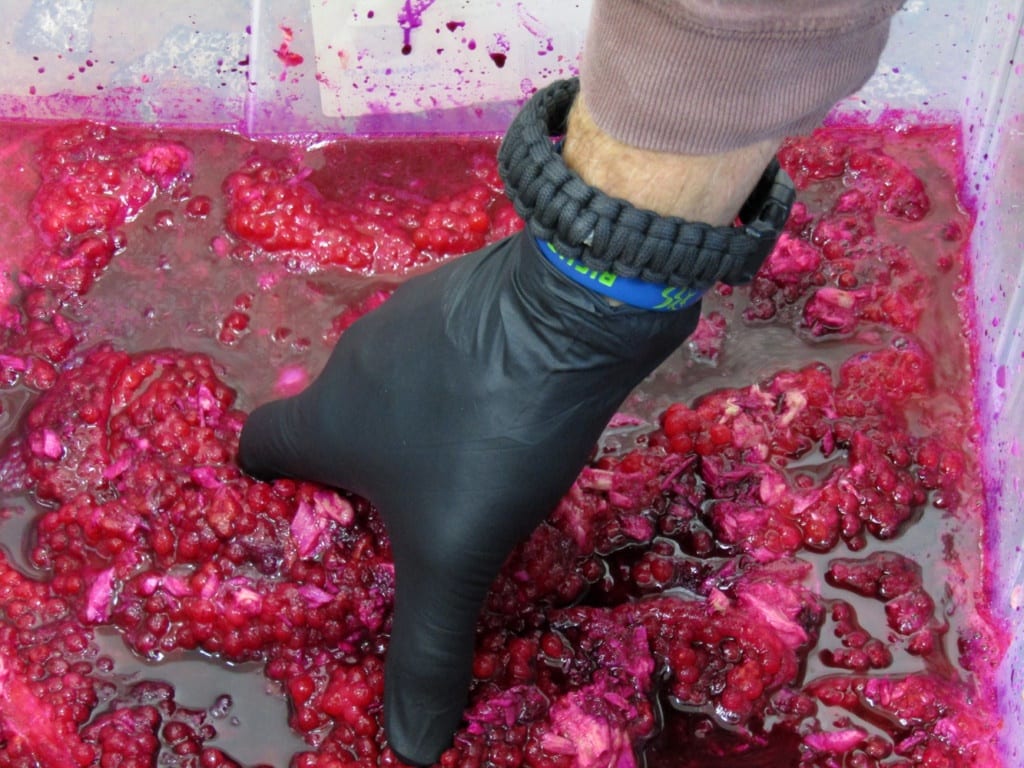
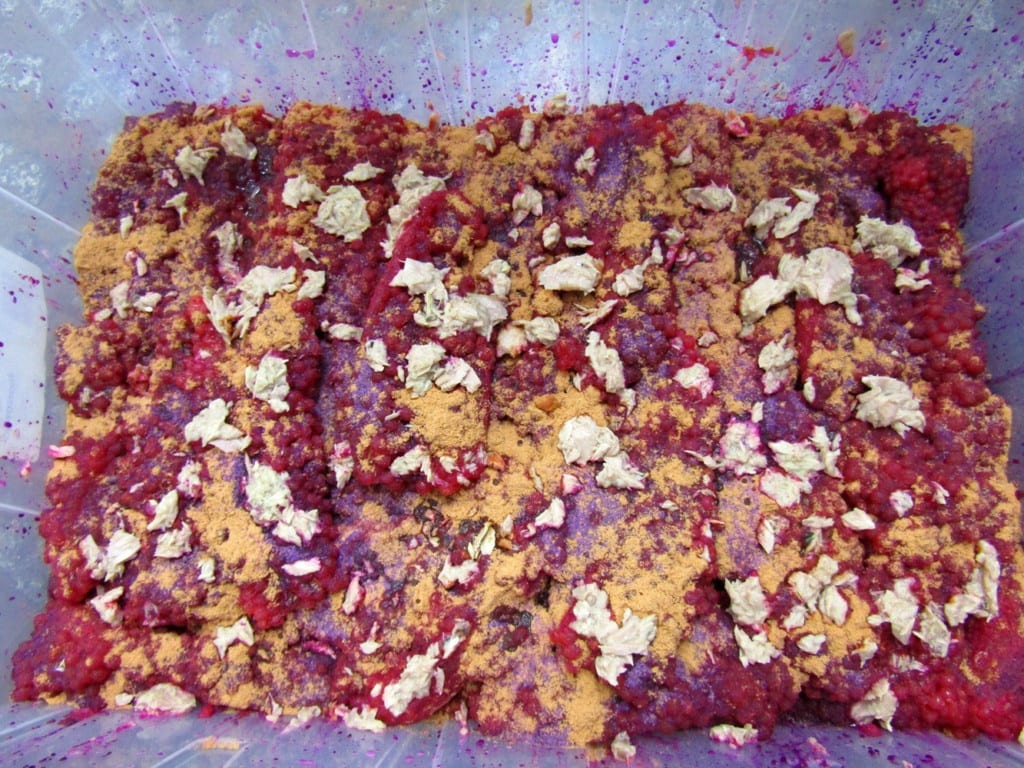
With gloved hands gently roll the eggs to thoroughly mix the cure and eggs. I let the eggs sit in the liquid cure for around six hours total and gently mix them every hour. Mixing them every hour ensures that all skeins are cured evenly. I suggest using gloved hands, not a large spoon, to not damage and pop the eggs.
You can do this entire process with many color combinations. You could certainly use Orange or Pink BorX O Fire, Fire Brine & Fire Dye. If you know that fish in your area respond to orange or pink better than red – go for it. Color combinations are entirely up to you.
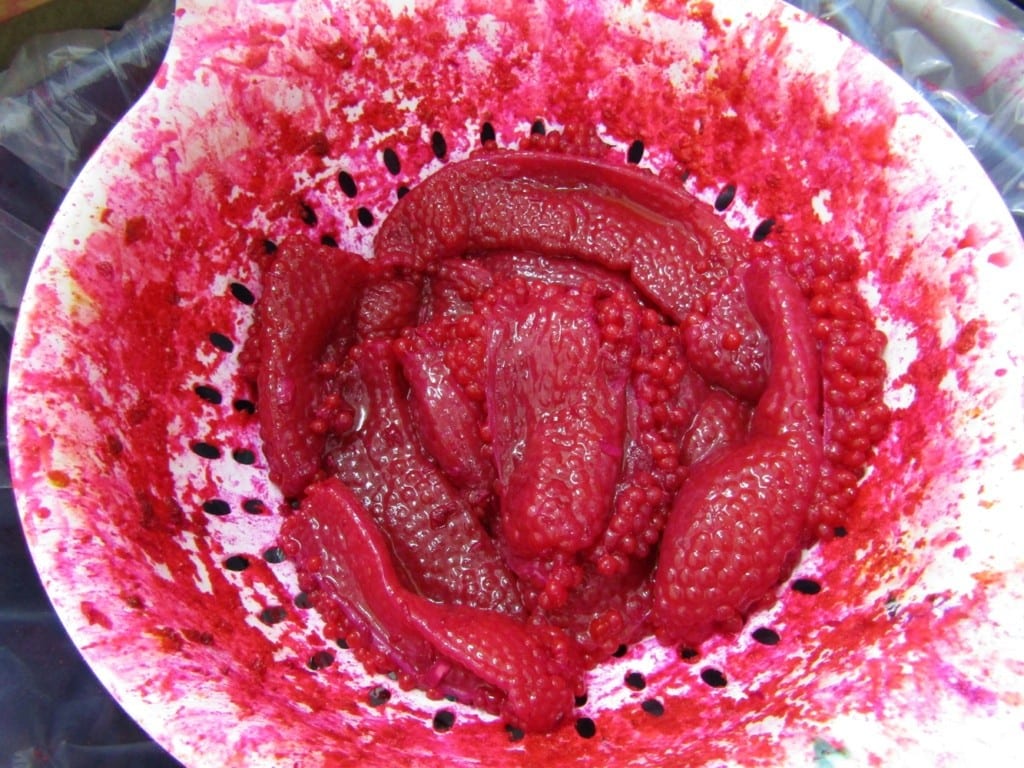
After the cure time is complete it’s time to strain the eggs. Pull them out of the brine and place a reasonable amount into a colander. Let the eggs sit and drip off the extra liquid for five minutes. Then I place them onto an absorbent surface or screen. (In this case layers of paper towels). Something that also works is doggie absorbent pee pads. Trust me on this one. For egg curing dog pads are great for your cure area and drying your eggs at the end of the process.
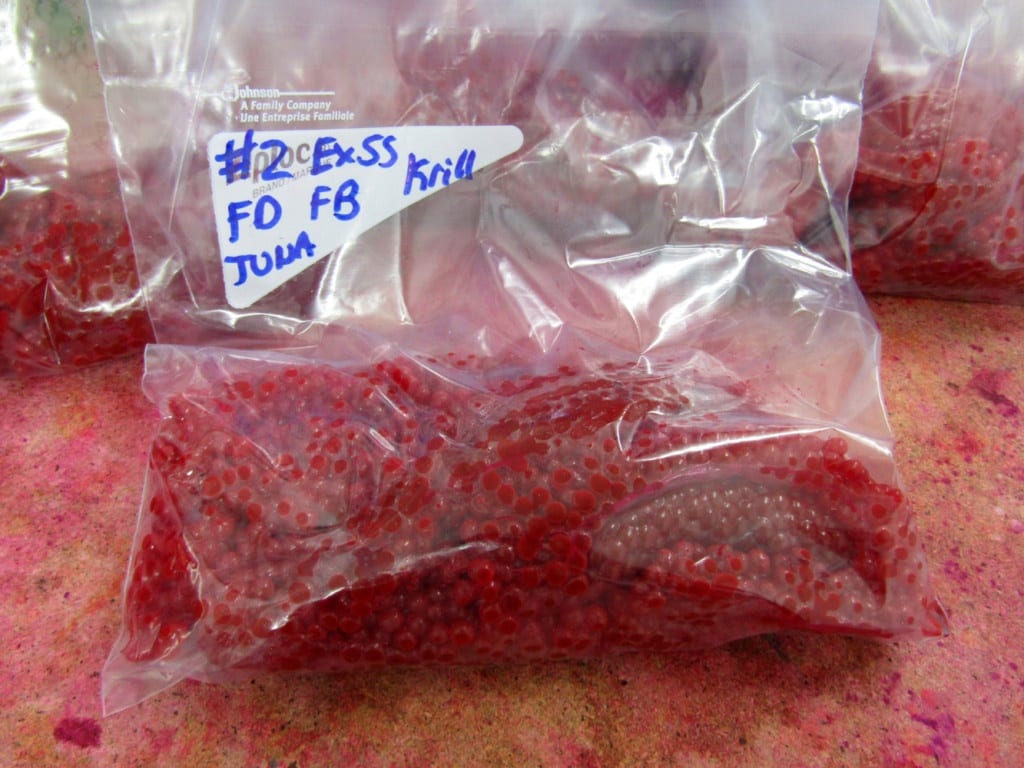
Let the eggs sit on the drying surface for at least 12 hours. Afterwards they will be ready to bag up to refrigerate and fish or freeze.
When you have a large volume of eggs to cure follow these simple steps to save time and create a bait that flat out performs.
Editor’s Note: Former Northwest Wild Country host Big Duane Inglin is based in the Pacific Northwest. He spends an endless amount time in The Bait Lab and is well known in Salmon Country for his innovative processes.