
Salmon
The Perfect Cure For Alaska Silver Salmon
By: Dustin Slinker
Whether you are curing eggs to fish in the Anchorage Bowl or looking to target late season silvers in other Alaska tributaries this egg curing process will help you catch more fish. I use Fire Cure to cure my eggs. The reason I do is when applying it you’ll end up with a nice, natural looking egg. The cure holds the eggs together well, retains colors through several drifts, doesn’t wash out and milks well. I love the natural because it preserves the eggs and keeps them in their original state. Alaska silvers love natural eggs.

For silvers natural is my color of choice. Pink is my second. When the silvers get finicky I use orange. Having a variety of eggs is always good when going fishing. Some day the fish prefer a natural egg, but the next day they may want pink or orange. Sometimes midday the fish stop biting. Oftentimes you only need to change the color of the eggs you are drifting to turn the bite back on.

The principals and techniques I use to cure eggs for silvers is the same for kings. The only thing that changes is the colors. I use Red Fire Cure for kings, but don’t for silvers. The other thing that changes from kings to silvers is we cut the baits sizes smaller. The size varies. Sometimes I run really small pieces like the size of a quarter, but other times I’ll run a larger piece.
The Alaskan Silvers Cure
Step 1: To Have Good Cured – Start With Good Eggs
It’s important to start with clean salmon eggs. Make sure that there’s no blood in the eggs. I always recommend bleeding the salmon right when it’s caught. This helps release blood so it doesn’t get held up in the eggs. Blood in your eggs negatively affects cured eggs.

Step 2: Butterfly Or Leave Whole
Take skeins and butterfly them or leave them whole prior to placing them on a paper towel to begin the curing process. I put them on paper towel to not stain up everything in your kitchen/garage. The towels will preserve whatever surface you’re curing the eggs on and also protect the eggs from getting contaminated.
Step 3: Sprinkle Fire Cure On
Evenly cover all portions of the eggs with Natural, Orange or Pink Fire Cure. Make sure you massage the cure deep into the folds of the eggs. It’s important that every piece of the egg gets cure on it.

I want to stress the importance of making sure the cure gets into each fold of the eggs.

Step 4: Let Cure Work
Place the eggs into a plastic container, cover it and store them in the refrigerator for 24-36 hours. I rotate them every few hours so the juices go through all the eggs and ensure the Fire Cure is evenly spread throughout the skein. As soon as you put the Fire Cure on them it begins to work immediately. The cure will pull the moisture out of the eggs and they’ll juice up. Once you put them in the bag/container you can watch the bottom fill up with the juice. After about a day the eggs begin to soak back up the juices. This is normal and that’s when I pull the eggs out of the bag/containers to air dry.

Step 5: Air Dry
Now its time to pull them out of the container and lay them air dry in a cool place (out of the direct sunlight) for a couple of hours. This lets them dry up and tack up a bit, which makes them firmer and helps them stay on the hook longer. Once you’ve air-dried them they are ready to fish.

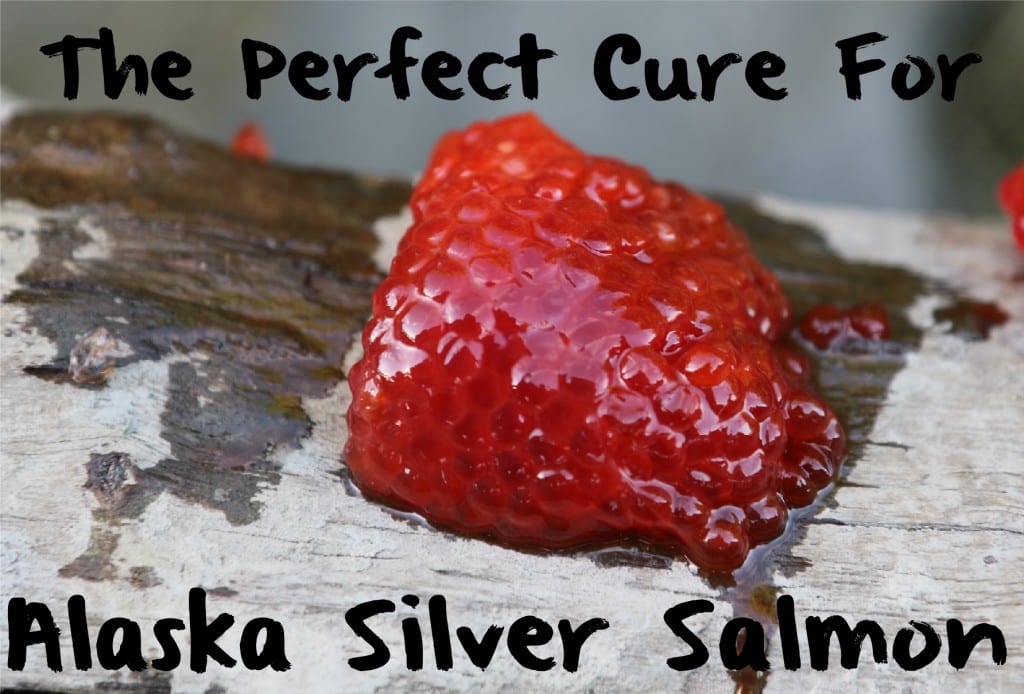
Below is what your final product should look like. These were cured in Fire Cure.

Editor’s Note: Dustin Slinker operates The Bait Shack in Anchorage. For more info please visit www.thebaitshackak.com or https://www.facebook.com/thebaitshack. Pautzke Fire Cure is available everywhere in Alaska where fishing products are sold.
