Salmon
Learn Slammin Sam’s Secret All Inclusive Egg Cure

By: Sam Baird
Having a great egg cure in the Pacific Northwest is vital from spring through fall when we are salmon fishing. I often get asked how I cure my fresh eggs depending on which run I’m fishing. People want to know if I cure my eggs differently for springers, summer salmon and fall salmon. While many anglers do, I don’t. While I may change the color of the egg cure I’m using I stick to the same process regardless of the season.
The process I use is time consuming, but I believe once you have tried it and see the results for yourself, you’ll never revert to the process you were using prior to this. In fact, many past clients call me to say thank you for teaching them how to use this cure. It produces a hardy egg that milks slowly. And, we all know keeping colorful and well scented eggs drift after drift is vital when plunking. Salmon and steelhead bite these eggs and won’t let go!

Let’s get to what I do.
Slammin Sam’s All Things Pautzke Cure
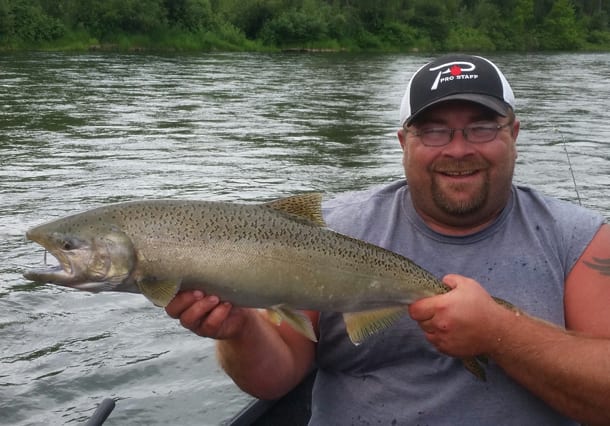
First and foremost is to start with quality eggs. If your eggs aren’t taken care of from the minute you catch a salmon you’ll never get the results your looking for. Make sure and bleed your fish upon catching them. If this step is missed try and remove as much blood as you can from the skeins before curing. Next, and very important, keep the skeins cold until you’re ready to cure. Once you have enough skeins of fresh eggs in the fridge we can start to cure them up.

Here’s what you’ll need to get started:
1 bottle Fire Cure
1 bottle Pautzke Red Nectar
1 jar BorX O Fire
1 jar Fire Powder
1 bottle Fire Brine

I normally use all of one color, but also know of guys that like to mix all and match. For example, I’ll use Red Fire Cure, Red Nectar, Red BorX O Fire and Red Fire Brine. The same can be done with pink and orange.
The Step by Step
Step 1: Place skeins into a jar or bowl and pour entire bottle of Fire Brine into container. Let soak at room temperature for one to two hours depending on how many skeins your doing. Every few minutes lightly stir or mix skeins in the liquid to ensure even brining.

Step 2: After your brining time is up, remove skeins and drain excess Fire Brine. I use a colander placed in the sink.
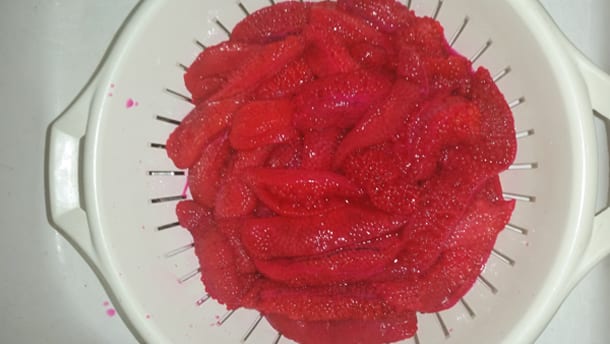
Step 3: Place skeins on wire wrack over newspaper to drain further and allow eggs to dry for at least one hour at room temperature. (Wrack is importantly because you don’t want wet eggs soaking up ink from the paper)
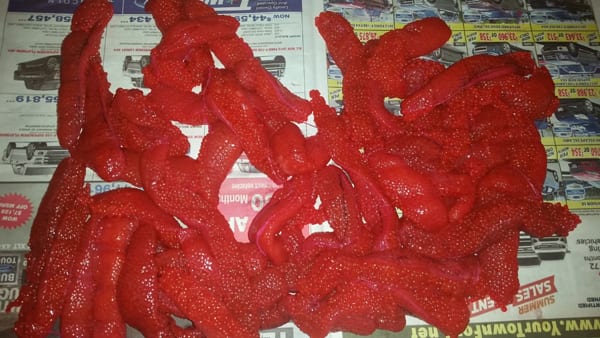
Step 4: Cut skeins into bait size chunks depending on what you’re planning on targeting with them. Bait size is determined by species (Chinook=50 cent piece, Coho=Quarter, steelhead=Nickle, Trout=Dime). Bait size is also determined by water clarity. The less viability the larger your bait size needed. Clearer water, try downsizing your bait for a better result.
Step 5: Now it’s time to add Fire Cure, just an even covering. A little goes a long way. If you use too much you will dry out your eggs. So, just a light sprinkle will do.
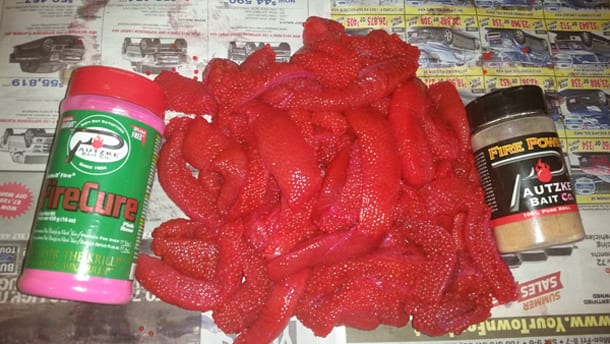

Step 6: Sprinkle Fire Power on skeins. You can use a little or a lot, but I like to cover each skein.
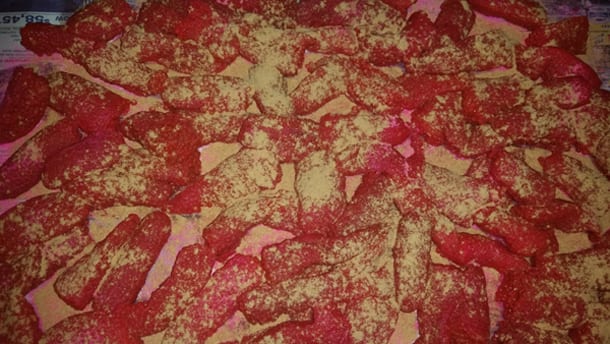
Step 7: Flip baits over and repeat steps 5 and 6.
Step 8: After applying both the Fire Cure and Fire Power on both sides of the cut baits, lightly roll the baits on whatever material you are using. I like newspaper as it’s easy to get and throw away. I do avoid paper towels as they absorb more of the egg juices than I prefer. You can also use whatever container you plan on storing the baits in, but I’ve found you get better coverage and juice from rolling them prior to placing in container. By “rolling” I mean, take one side of the paper and lift, rolling the baits to the other side. Then lift other side and roll back the other direction. Then top, and bottom. Thus ensures great coverage of Fire Cure and Fire Power.
Step 9: Place baits into a jar or container with a good lid. Now add an entire bottle of Red Pautzke Nectar. Roll jar around to ensure Nectar is equally distributed.
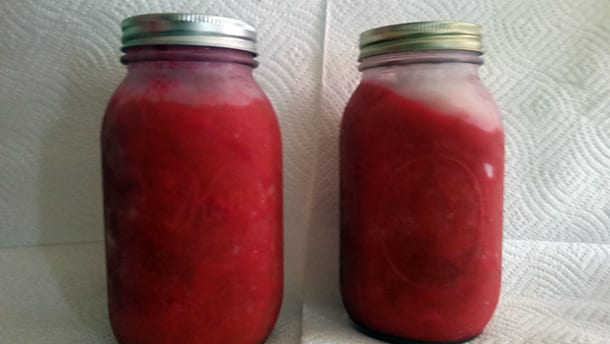
Step 10: Place in fridge for four days. Turn the jar twice a day if you can.
You’ll notice the eggs swelling up and the juice disappearing. This is normal.
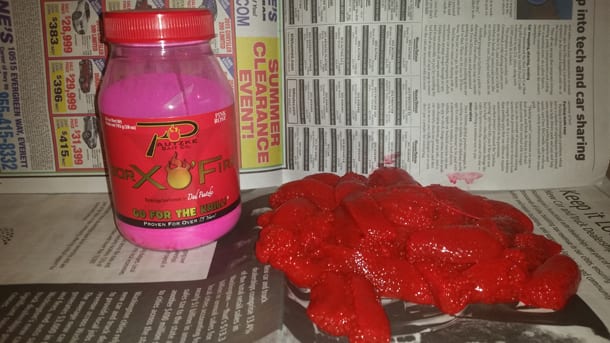
Step 11: After four days, place baits into a freezer safe container. I use old BorX O Fire bottles. If there is room at the top of the container cover baits with more Nectar to ensure no freezer burn.
The reason I like to use the BorX O Fire at the end is due to this being a “Wet Cure/Brine” the eggs come out with extra juice in the container. Not wanting to waste this, I sprinkle the BorX O Fire on the baits to help absorb some of the juice sticking to the baits. It also toughens up the eggs more, and add another dose of color. At this point, at times I’ll use a different color of BorX O Fire that what I used with Fire Cure. This adds another dimension to the baits, which will be covered in a future blog.
Step 12: A day or so before your ready to use your now cured eggs, remove from freezer and let unthaw in the fridge. When thawed you can remove excess juice and sprinkle on BorX O Fire.

These eggs will turn heads and make you a believer the first time you hit the water. I use this cure for spring Chinook, fall kings and winter steelhead. It’s an all around cure that takes the guesswork out of curing your own fresh skeins.
Editor’s Note: Sam Baird operates Slammin Salmon Guide Service in Central Washington. For more info on his guided trips for salmon and steelhead please visit http://slamminsalmonguideservice.com.