

By: Todd Daniels
All eggs are not created equal. Depending on the time of year and species I’m targeting I cure my eggs differently, and you should too. What I’m looking for this time of year is color – the right color egg. The reason is we have constantly changing water conditions this time of year and I need the right egg to ensure I’m able to put my clients in a position to catch salmon and steelhead daily.
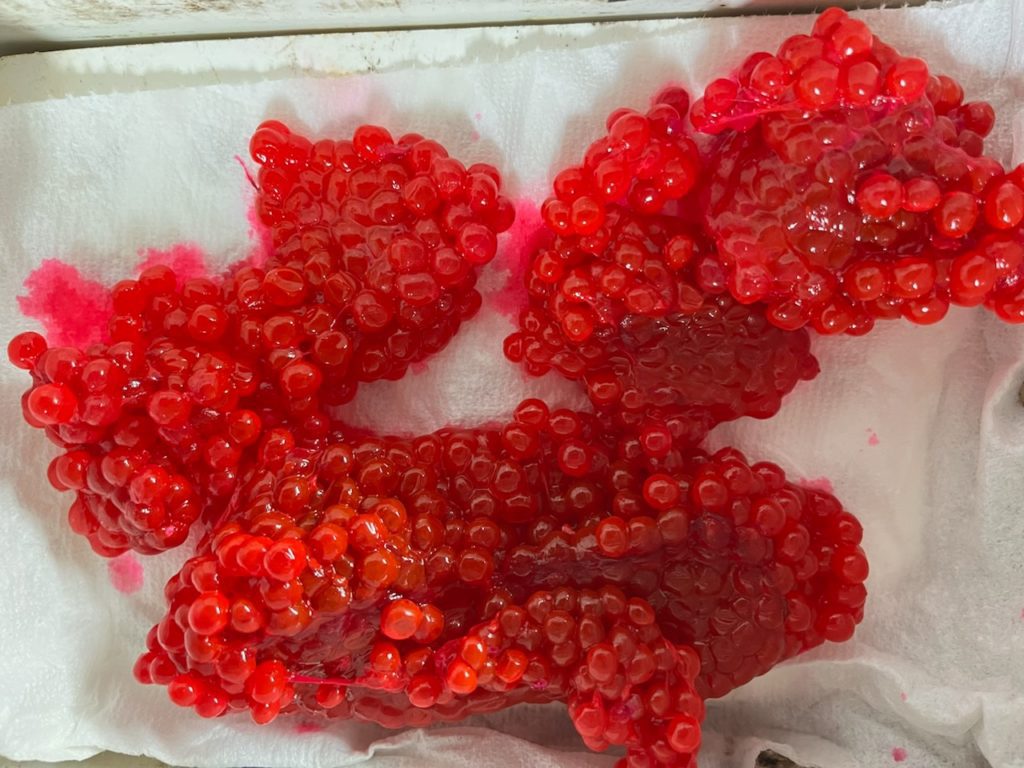
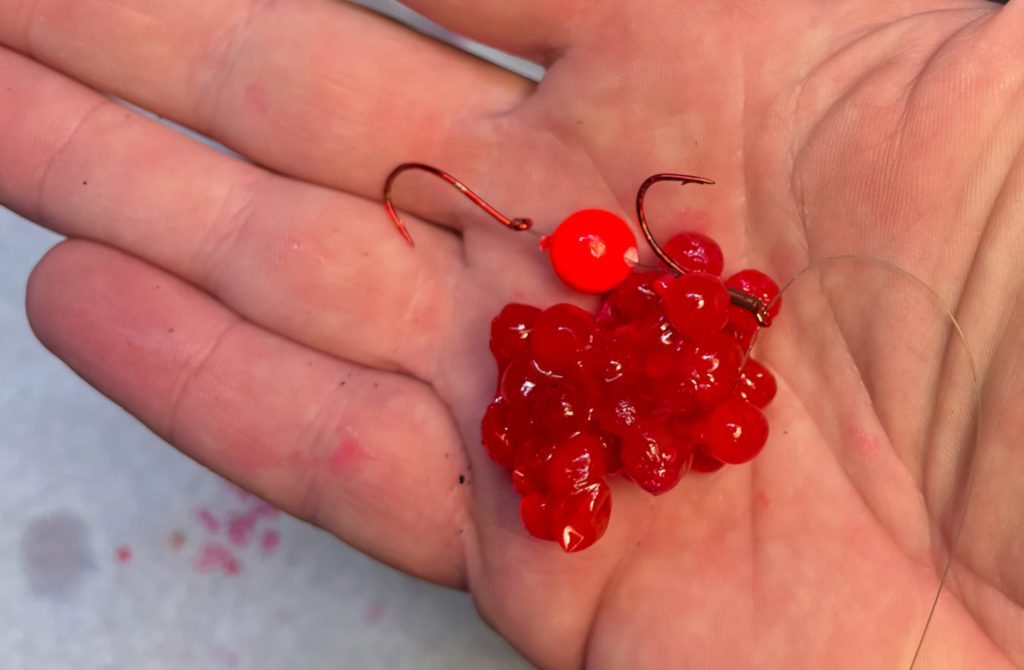
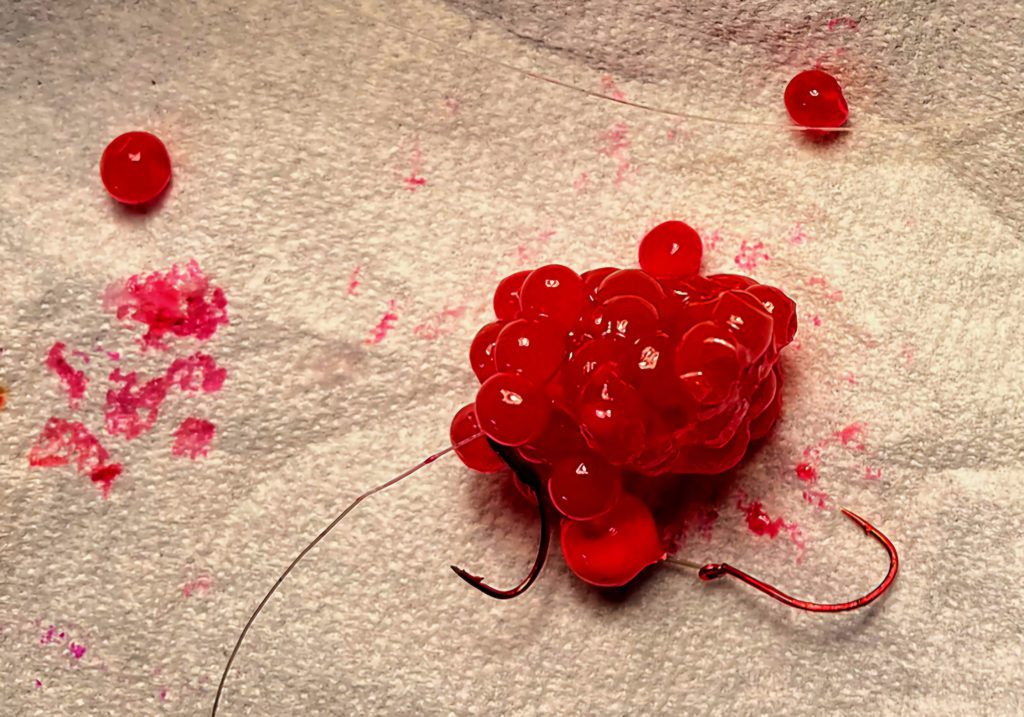
In the fall and winter we go from flooding to low and clear in these rivers in a matter of a few days. This cure that I’m running is engineered for the clearer side of things. Meanwhile, I like more on the lighter reddish pink side and a translucent egg, if possible. There are millions of eggs in the river right now from naturally spawning salmon and that light red/pink I’m looking for in my eggs is the color of eggs free flowing in the river. This is the old match-the-hatch scenario we’ve all heard. Some of you may look at these eggs and think they are more red than pinkish. On the other hand, when you drift them they look more pinkish and translucent. Try it, and you’ll see what I mean.
Another thing I want to talk about it the size of the egg I’m using. I’m using quarter-size eggs, maybe a 50-cent piece if I’m facing high water. We are primarily side drifting or bobber dogging and after a few decades of doing this we’ve been able to cone in on the exact size the salmon and steelhead want. It also has a lot to do with the speed of your presentation. For these methods the above sizes are ideal.
Let’s dive in to how to get the color I want. First and foremost, think krill. Everything I use has krill in it and I and start with that in my egg curing process. Krill is a big deal in the Northwest. Everything in the ocean eats that stuff. And again, we want to match the hatch, per say. It’s a natural food source in the ocean.
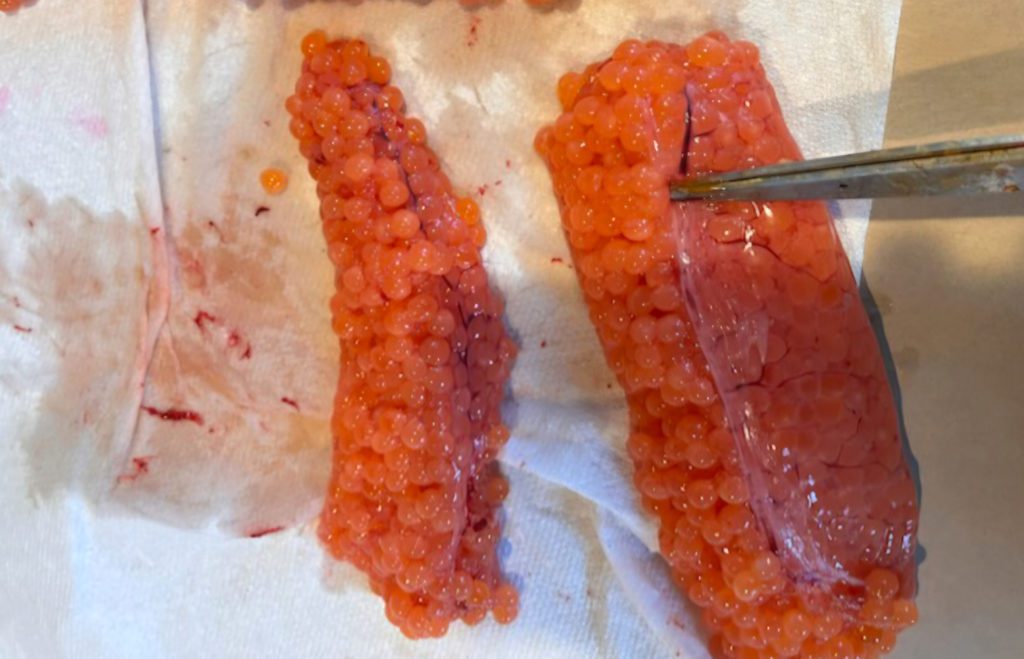
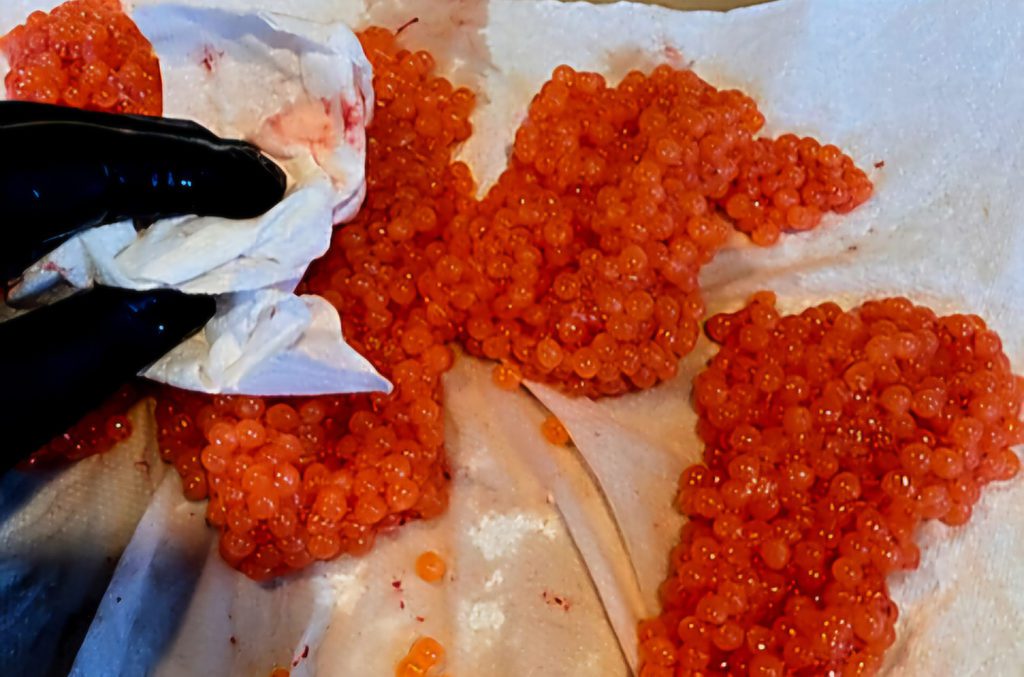
Step 1: Butterfly ‘Em & Care For Them Properly
To start butterfly the eggs and remove the blood line. A clean egg is a good egg. Always remember to start with a good egg to end up with a good egg. For example, curing good eggs starts when you catch the salmon, not when you go to cure eggs. When you are out fishing and catch a hen it’s imperative to bleed the fish immediately. This gets the blood out of the skeins and the meat you are going to eat.
Have a gallon Ziploc with you and don’t ever let the eggs touch water. Eggs are porous and absorb water. The more water that’s in there the less cure that goes into your eggs. For best results cure your eggs within 24 hours of catching your fish.
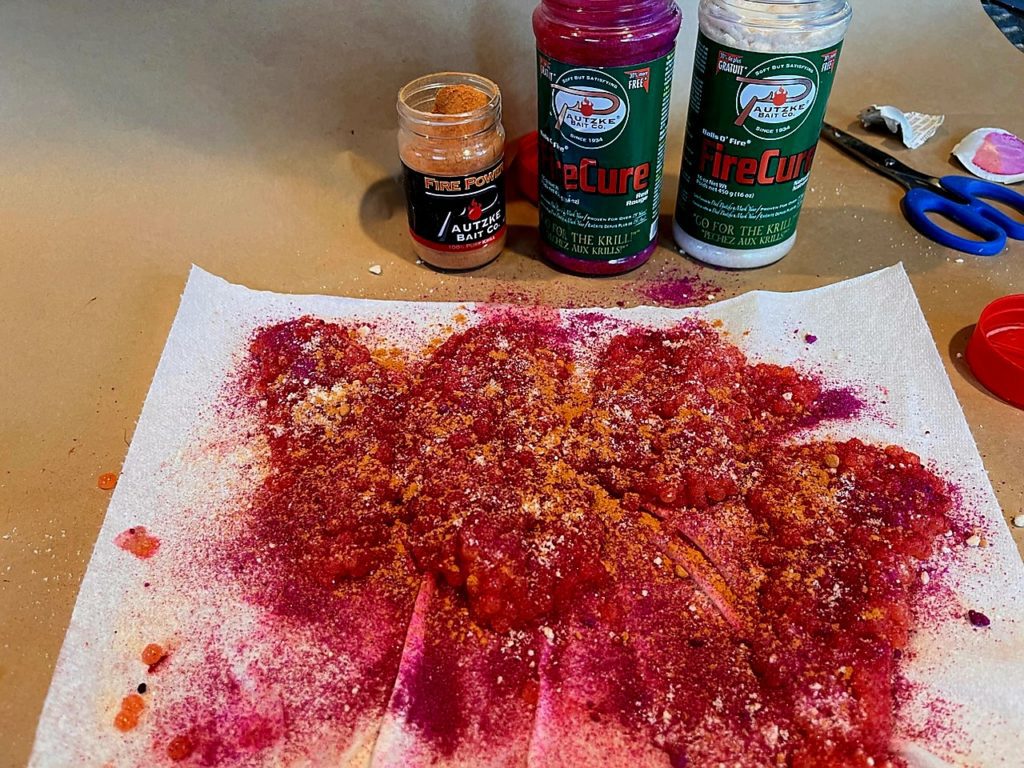
Step 2: We talked krill – Add Lots of Fire Power
After getting all the blood out butterfly your eggs, lay the skeins on a paper towel and add Fire Power. This is pure krill powder. Too much is never enough. I use a liberal amount, which you can see in the photo. Fire Power is a good thing.
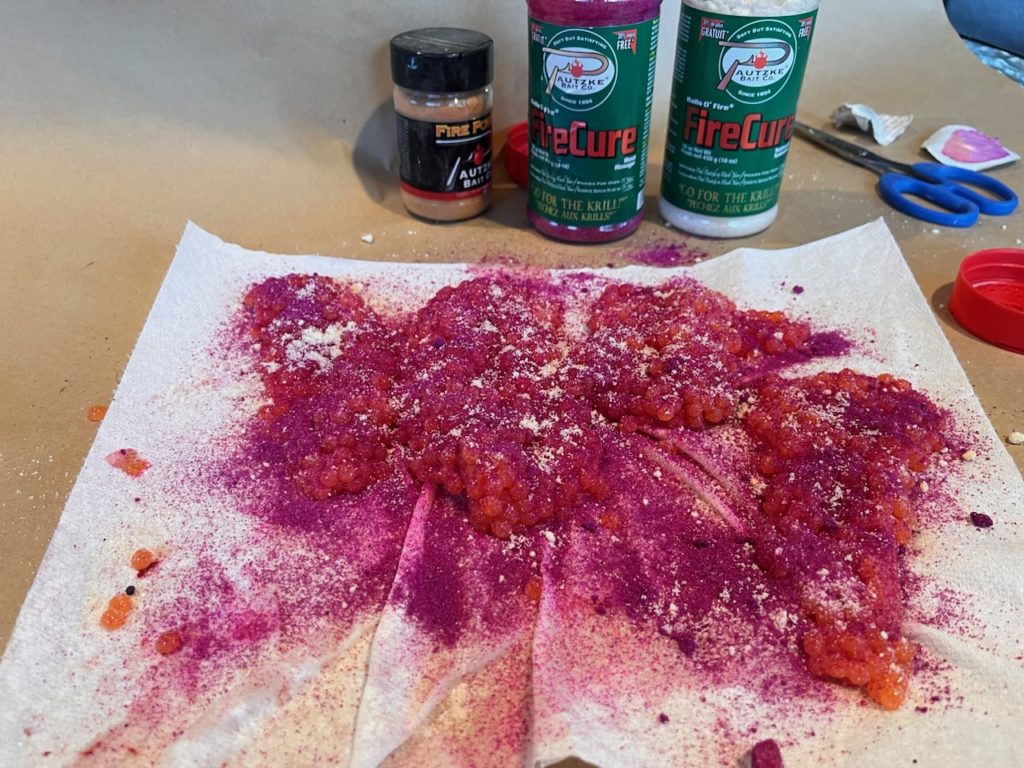
Step 3: Add Fire Cure(s)
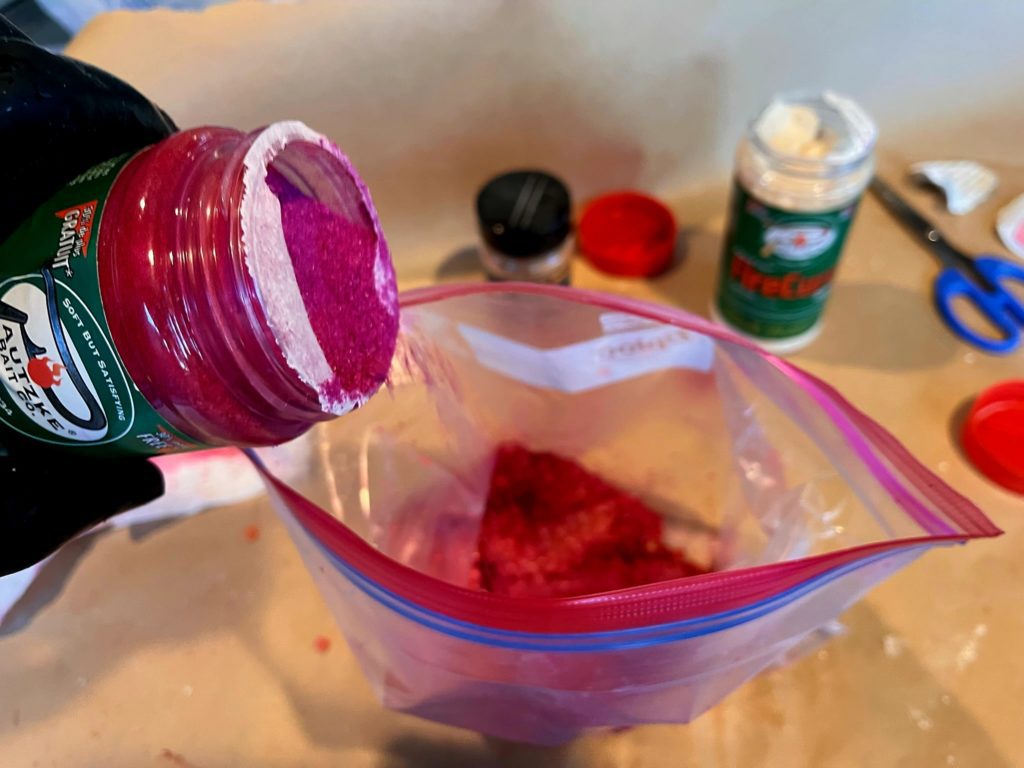
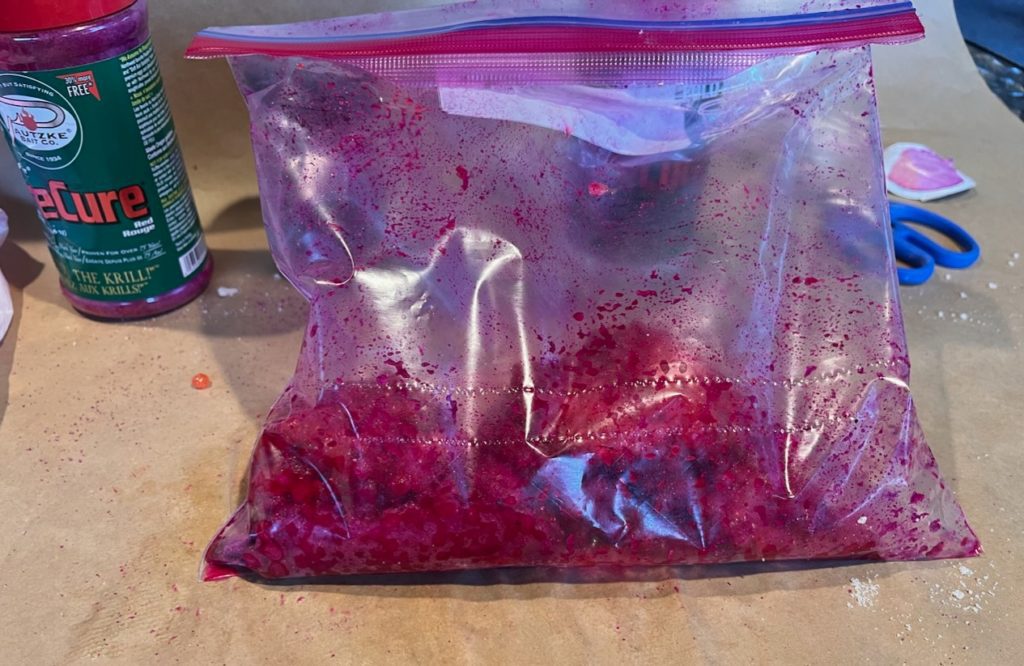
Sprinkle a 50-50 mix of Red and Natural Fire Cure on top of the Fire Power. Mixing these gives me the lighter color egg I’m looking for. At this point the eggs are on a paper towel. Move them into a gallon Ziploc.
After the eggs are in the bag add one teaspoon of reds and white Fire Cure and dump it on top of the eggs. I want to make sure that cure is covering everything. This won’t burn your eggs. That’s a myth. The sulfites in Fire Cure aren’t as heavy as in some other cures.
Step 4: Massage A Lot
At this point I close the bag and gently massage the eggs to make sure the cure is touching every part of the egg possible. After that I leave the eggs on a table for six to eight hours at room temperature. That helps the eggs juice up nicely. Every hour or two I’ll massage the bag gently and turn it over to make sure the juice gets in everything. Then put it in fridge for two days and they are ready to fish.
Step 5: Scent is Important
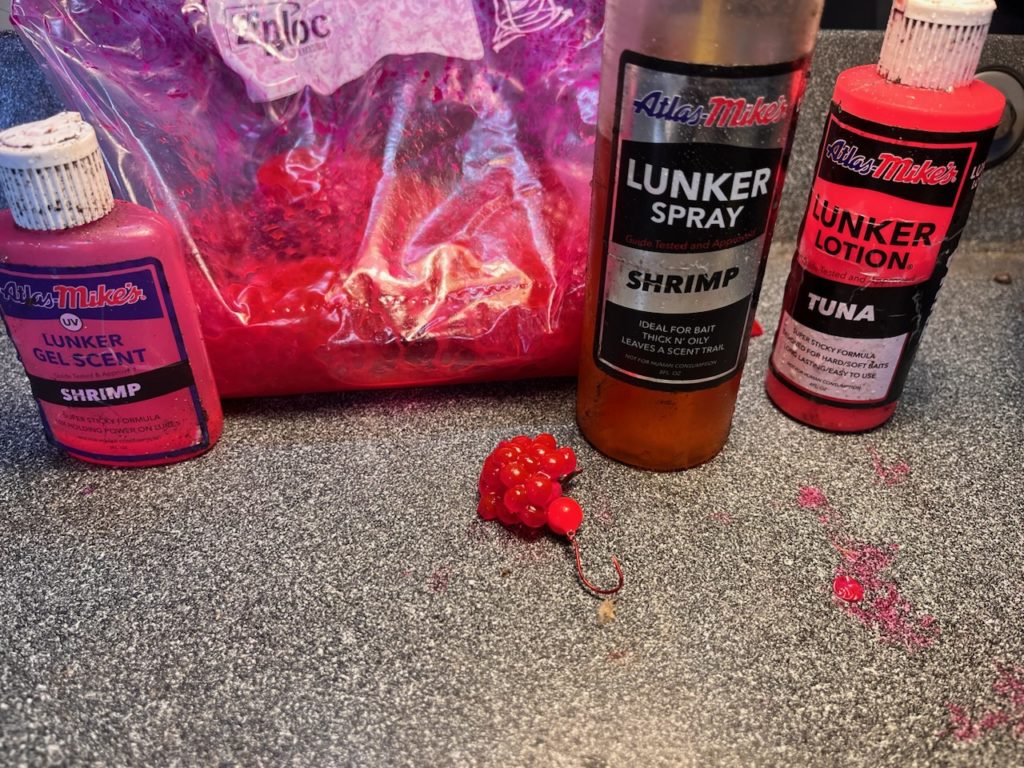
I don’t add scent during the curing process rather on the morning I’m fishing. It looks like a chemistry experiment on my boat. I can add sugar or scent to each individual piece as needed until we find out what they want that day. We know salmon and steelhead taste buds change almost daily. I’m a big fan of shrimp, tuna and sand shrimp and if there’s coho around don’t be afraid of sardine. I use Lunker Lotion, Lunker Spray and Lunker Oil because they are liquid and can be added on demand. This is why I don’t add the scent during the curing process. It gives me the flexibility to adapt and change on a moment’s notice.
Editor’s Note: Todd Daniels is the owner of Tall Tales Guide Service. To learn more about his guided trips please visit https://talltailsguideservice.com/